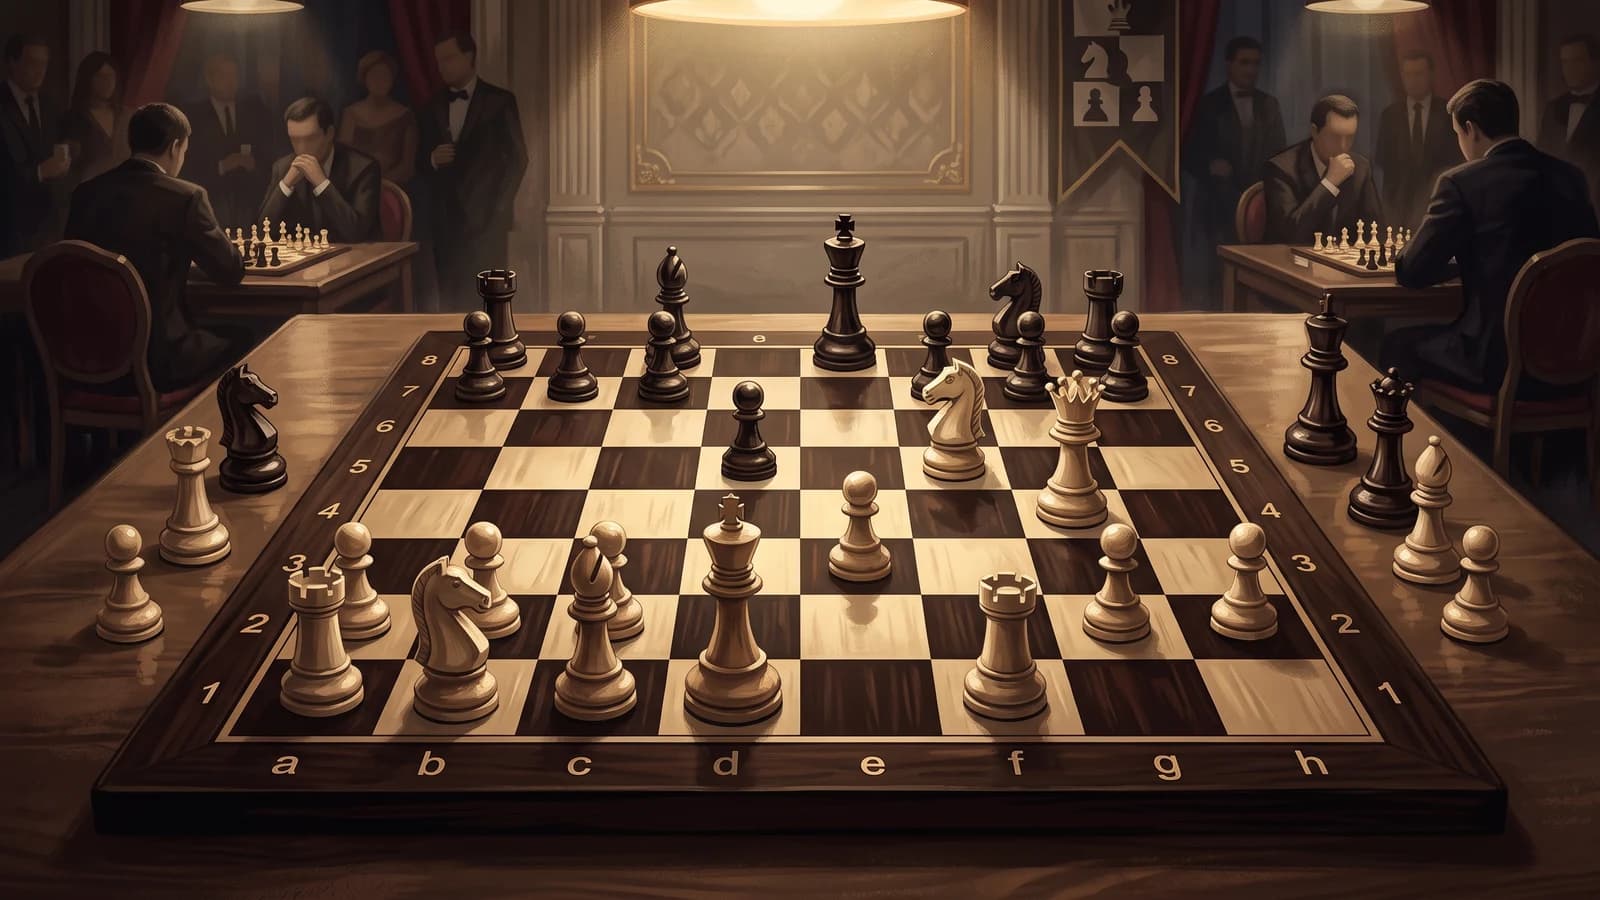
Morphy Turns Anderssen's Slow Flank Move Into a King Hunt
Stockfish-guided analysis of Morphy-Anderssen, Paris 1858: King's Gambit risks, defensive misses, and the decisive rook invasion.

Paul Morphy's win over Adolf Anderssen, listed by Chess.com as a Paris match game from 1858, is a sharp King's Gambit lesson with a very modern engine story: White's opening is objectively risky, Black has more than one chance to consolidate, and then one slow move lets the attack take over. The Chess.com game score ends with White ahead decisively after a rook lands on the seventh rank.
The Gambit Bet
After the symmetrical start, Morphy immediately chose the King's Gambit. The idea is easy to understand: deflect the central pawn, open lines, and make Black prove that the extra pawn can be kept without falling behind in development. Stockfish, however, treats this as a real concession because White gives Black a fixed target and weakens the king before any minor piece has helped.
The engine's cleaner route is simple development and pressure on the center:
That line keeps White's opening edge without creating a durable hook. The game move instead allowed Black to accept, build around the advanced pawn, and make White spend time recovering the initiative. Morphy likely valued open lines and forcing play more than the structural cost; the move suggests confidence that activity would matter more than a pawn. Stockfish's warning is that a gambit must create immediate development gains, not just future attacking chances.
Black accepted and then advanced the supporting pawn. Morphy's next key choice was the bishop development toward the sensitive f-pawn area.
This is coherent: the bishop points at Black's king side and prepares rapid castling. But it allowed the central practical problem: Black could push the supporting pawn with tempo against the knight. The best line fights that pawn chain at once:
Compared with that, the bishop move allowed this kind of plan:
Black's actual bishop development was slightly less exact than the most forcing continuation. The direct pawn advance would have driven White's knight and made the opened lines serve Black first; by developing instead, Black gave White more time to challenge the structure. Still, White soon made another committal decision.
Castling looks natural: king out of the center, rook to the open file, pressure increased. But the king moved into the very sector where Black already had the pawn chain and bishop influence. Stockfish preferred central or pawn-chain resistance first:
The game move allowed Black to continue developing and preserving the king-side clamp. The lesson is concrete: castling is not automatically safety when the opponent already owns the attacking hooks on that side.
The First Reversal
White then built a real center and placed queen, bishop, and knight near Black's king. Here Anderssen faced the practical question of the game: does he secure the king-side pawn shield, or make a useful-looking flank move?
The game move suggests a flexible idea: restrain the queen-side, prepare expansion, and ask White to prove the attack. But the move underestimated the immediate vulnerability of the g-pawn and the f-pawn complex. Stockfish's best line starts by securing the sector under attack:
That line gives Black time to develop and castle. The game move allowed the only move that changes the game:
The knight capture removes the advanced pawn, invites the queen out, and then the bishop check drags the king away from castling rights. This is the moment where the initiative becomes tangible: Black's queen and king are both exposed to tempo-gaining attacks.
The bishop check was also the engine's only way to keep the attack alive. Grabbing back material more quietly would let Black regroup. The point is not only check; it is the follow-up capture of the f-pawn target after the king moves.
Black's king move was forced. Other king squares allowed even larger White advantages, so Anderssen found the best defensive square available.
White's next capture was another only move. It removes the pawn that had justified Black's opening and gives White bishops, queen, and rook a common target: the exposed king.
Counterplay Or Retreat
Now Black had to decide what kind of defense this position required. The queen could stay active and force White to answer threats, or it could retreat toward consolidation.
The retreat has a human point: the queen leaves immediate danger, guards central squares, and helps a king walk. But the engine preferred keeping counterplay alive:
There the queen attacks, White must calculate, and Black's pieces still create problems. In the game, the retreat allowed White to remove another defender.
That capture is again the engine's only move. White does not rush; White removes material and keeps the bishop deep in Black's position. The target is now not just the king, but also Black's coordination: rooks, bishops, queen, and king all need different things.
Anderssen's next move is a good example of an engine nuance that is not a human disaster.
The bishop development was outside the engine's top three, but only by 13 centipawns. The best move starts a slightly more resilient queen-side and rook-lift setup:
The game move still follows the same defensive logic: activate a sleeping bishop, pressure dark squares, and prepare to move the king. It did not uniquely lose the game; it just was not the most efficient move order.
The King Walk
White improved calmly with the knight, and Black then chose a king route.
The game move tries to get off the back rank and keep options open. The engine preferred going directly toward the safer square:
The difference is positional rather than tactical. By stepping through the center, Black gives White's bishop and queen more natural pressure squares. White answered by centralizing the bishop, and Black brought the knight back to defend.
Here Morphy made his own significant concession. Taking the queen-side pawn is tempting: it is forcing, wins visible material, and seems to keep Black tied up. But it allowed Black's knight to eliminate the powerful centralized bishop.
Stockfish preferred opening the center while the king was still exposed:
That line keeps rooks and minor pieces aimed at the king. The game move converted pressure into material, but also gave Black the defensive mechanism of trading off the bishop and chasing the queen. Morphy likely judged the simplified position still winning; Stockfish agrees White remains much better, but the attack lost some force.
Black correctly took the bishop.
This was the only move: if Black ignores the bishop, the position collapses faster. White also had only one serious continuation.
The queen recapture keeps material and pressure, but it also creates Black's big defensive chance: the queen on b7 can be attacked with tempo.
The Decisive Miss
Now the whole defense depended on using that tempo immediately.
The game move gained queen-side space, but it did not attack the queen. That was the decisive miss. The engine's first choice is immediate rook activity:
The point is direct: hit the queen, force it to move, and turn White's material grab into a defensive tempo. The game move allowed White to switch targets from the queen-side pawns to the central pawn and king.
The bishop capture is the only move and it is crushing because it removes the central shield. If Black recaptures at once, the rook invasion follows; in the game Black inserted a check first.
White had to recapture with the c-pawn. Moving the king or choosing a rook move gives Black far more counterplay. The recapture keeps the center strong and leaves the d-file and seventh rank vulnerable.
Black then recaptured with the queen, also forced. The position is now clear: Black has won back material, but the king is still exposed and the seventh rank is open.
The final move is the cleanest expression of White's whole attack. The rook check invades the seventh rank, attacks laterally, and keeps Black's king under pressure with the queen ready to harvest the back rank.
The recorded game ends there as a White win. Stockfish's continuation shows why: Black can move the king and interpose, but White's queen and rook keep collecting material while the black pieces remain tied to defense.
Practical Lessons
First, an opening gambit must produce specific gains. Morphy's early pawn offer was rich in practical chances, but Stockfish preferred development because Black could use the pawn as a lever rather than merely as loot.
Second, do not castle into the opponent's pawn storm by habit. White's castling was principled in general, but in this structure the king-side was already Black's attacking zone.
Third, when defending an exposed king, activity matters more than comfort. Anderssen's queen retreat and later pawn move both had coherent ideas, but each allowed White a free attacking move.
Finally, when the opponent's queen is deep in your position and can be hit with tempo, use the tempo. Black's missed rook attack after White's queen capture was the last real chance to slow the attack; once White removed the central pawn and invaded with the rook, the game was effectively decided.
Evaluation Swing Scorecard
| Moment | Side | Loss | What changed |
|---|---|---|---|
| White | 92 cp | White chose imbalance and king-side looseness over clean development. | |
| White | 61 cp | White developed actively but allowed Black's pawn chain to gain time. | |
| Black | 39 cp | Black delayed the most forcing pawn advance and gave White a useful tempo. | |
| White | 74 cp | White castled into the side where Black already had attacking hooks. | |
| Black | 312 cp | A slow flank move missed the urgent defense of the king-side complex. | |
| Black | 192 cp | The queen retreated into defense instead of creating counterplay. | |
| Black | 47 cp | The king chose a less precise transit square. | |
| White | 129 cp | White took material and allowed simplification of a dominant attacker. | |
| Black | 347 cp | Black missed the tempo against White's advanced queen. | |
| Black | 31 cp | Black inserted a check before recapturing, but the attack remained decisive. |