Kasparov's Forcing Net Against Karpov
Garry Kasparov, playing White, turns a quiet Exchange Queen's Gambit into a decisive attack after Anatoly Karpov's knight move allows a forcing sacrifice on f6.

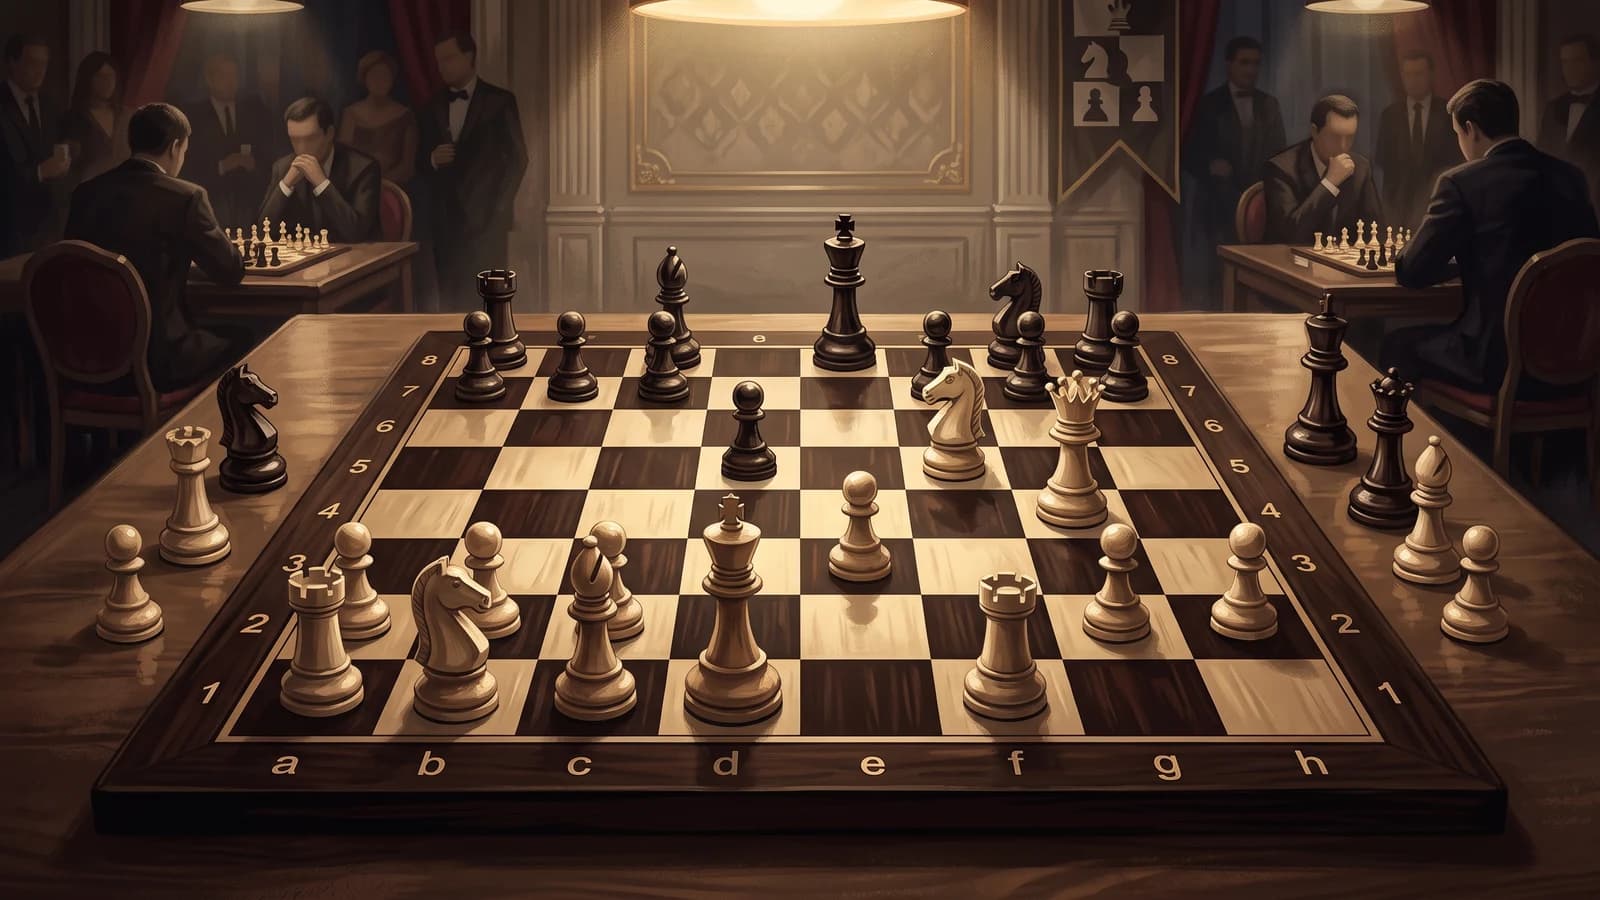
Garry Kasparov had White and Anatoly Karpov had Black in this rapid game from Valencia, preserved in the Chess.com game record. For a long time it is not a sacrificial masterpiece at all. It begins as a controlled Queen's Gambit structure, with White taking a modest central pull and Black answering with compact, practical development. The game only becomes explosive after both players have spent many moves arranging apparently small details: a queen on d2, a rook on d5, a weakened h-pawn, and a black knight that seems to gain a tempo but actually opens the door to a forcing attack.
White starts with principled central space, then challenges Black's d-pawn and develops the queen's knight before clarifying the center. The exchange on d5 is not a pawn-winning operation. It is a structural choice: White gives up the c-pawn tension and aims for an Exchange Queen's Gambit shape where the bishop can come out actively and the pieces can develop without friction.
At this first important defensive moment, Black must not become ambitious. The point of the position is simple: White's pawn on d5 is advanced and tactically relevant, so Black has to remove it before doing anything else.
That recapture is the only move. The engine's line shows Black surviving by restoring a black pawn on d5 and then allowing White normal development. The tempting alternatives have a consistent defect: if Black counters in the center or develops first, White's d-pawn either captures on e6 or uses the c-file tension to leave Black with a clear problem. So this is not routine bookkeeping. It is the small tactical requirement that keeps the opening in normal territory.
White brings the bishop to an active diagonal before committing the e-pawn, Black reinforces d5 with c6, and White's queen goes to c2, eyeing h7 while supporting central ideas. Black's bishop challenge is also natural: by moving the bishop to d6, Black asks White whether the active bishop on f4 is really staying there. White answers cleanly by exchanging it.
Now Black again has no useful waiting move. The bishop on d6 cannot be allowed to escape or take on b8 under favorable conditions.
The queen recapture is forced. The engine continuation keeps the game in a modest White plus after quiet development. The alternatives are not merely less elegant; they fail tactically because White's bishop remains active and can either retreat or win material. Black's queen is centralized early, but that is a small price compared with leaving the bishop alive.
White's quiet central move opens the bishop and supports the d-pawn. It is exactly the kind of move that makes the exchange structure comfortable: no tactics yet, just a healthier development map.
Black now chooses a compact knight development.
The engine narrowly prefers the more direct development shown in , but the played move is sound. Its idea is to clear the castling square, reinforce d5, and support future play around f5. This is an outside-top-three flag in the audited evidence, but not a serious mistake: the expanded comparison treats it as essentially co-best, a move-order preference rather than a strategic concession.
White develops the bishop to the h7 diagonal and prepares castling. The move also supports e4, so White's later central break is already being prepared.
Black continues with another flexible move.
The knight move supports c5 and e5, and it keeps several setups available. The more precise alternatives, especially the prophylactic line , address the bishop's pressure on h7 before completing the same development story. Here the loss is only thirteen centipawns: the issue is not a tactic, but the timing of Black's useful moves.
White's knight comes to e2, not f3, keeping the f-pawn available and preparing castling. This is a flexible improvement rather than a direct threat.
Black answers with a small kingside move.
The idea is to control g5 and keep the position compact. The engine's preferred line is slightly more forceful with the h-pawn, but the played move is still excellent. It does not solve everything, but it removes a square and lets Black castle without weakening the center.
Both kings go to safety, and White inserts a3. That move prevents annoying access to b4 and keeps the queenside under control before White chooses the exact rook placement. Black is solid, but White's pieces have the easier story: castle, centralize, and eventually break with e4.
Black now claims queenside space.
The move clamps b4 and hints at a queen-and-pawn plan on the queenside. The engine's comparison prefers more flexible preparation, such as , where Black improves the knight before committing the a-pawn. Still, the played move is coherent: it ties Black's queenside structure to a later queen retreat and b-pawn expansion. The drawback is that White can simply centralize and keep the main plan intact.
White's rook comes to the d-file. This is quiet precision. The rook does not win anything yet, but it means that every later central liquidation will have to account for a White rook arriving on d5 or d7.
Black frees the c8-bishop.
The point is clear: the bishop now has routes to b7 or a6. The best engine setup begins with more immediate rook activity, as in , but the played move is still a thematic defensive choice. What it allows is White's central break before Black's bishop activity is fully coordinated.
White takes that chance. The e-pawn challenges d5, Black correctly captures, and White recaptures with the knight. After the sequence, White has a stable knight on e4, supported and active, while Black must decide how to handle queen placement and coordination.
This is Black's first move of real consequence in the evaluation swing list.
The queen retreat has an understandable attraction: it attacks h2 along the diagonal and steps away from central exchanges. But it also releases pressure on d4 and e4. The engine wanted a more active queen, especially , keeping contact with the center and using queen activity to create counterplay. The played move loses forty centipawns because White is not forced to defend passively. White can continue improving, and Black's threat on h2 is too narrow to justify the lost central influence.
White now makes a natural but imprecise choice.
The knight development reinforces e4 and attacks d5, so the attraction is obvious. But the position rewarded activity more than completion. The engine preferred active measures such as , or direct rook coordination, because Black's queen on b8 had already stepped away from central pressure. By choosing the knight move, White gives Black time to contest the d-file or exchange the active bishop. The sixty-three-centipawn loss does not spoil the game, but it reduces White's clear initiative to a smaller edge.
Black immediately uses that tempo to challenge the bishop.
The move develops the bishop with tempo and creates a simple mechanism: if White captures, the rook recaptures. It is practical, but not the engine's most accurate defense. The line shows why central rook activity was more urgent. By playing the bishop move first, Black allows White either to keep tension or simplify into a central break. The move loses thirty-three centipawns because it reduces one White piece but does not solve the d-file problem.
White accepts the exchange. This capture is not just simplification; it prepares the central push that follows after Black's forced recapture.
Black must take back.
The rook recapture is another only-move moment. The comparison line keeps the game near a small White edge. Anything else lets the bishop escape or leaves Black tactically exposed. After the recapture, Black's rook is active on the sixth rank, but White's next plan is ready: break with the d-pawn and force liquidation.
White pushes in the center, Black correctly captures with the knight, and White captures back. This whole sequence is about turning central pressure into an active rook. White is not winning material by force; White is forcing Black to clarify the center so the rook can land on d5.
Black again has a forced defensive recapture.
The c-pawn must take. The engine line shows the defensive point: Black removes the knight even though the resulting pawn can be captured. If Black waits, White has decisive tactics against c6 and d7. So Black accepts that White's rook will become active, because the alternatives are much worse.
White recaptures on d5 and threatens the knight on d7. Black's rook move to a7 is precise geometry: it defends the knight laterally, so the obvious capture on d7 no longer works. White then improves the queen to d2, defending the rook and adding pressure toward h6. This quiet queen move is the bridge between the central phase and the attack.
Here the game changes.
Black's idea is concrete: move the knight away from d7 and attack White's knight on e4. If White gives Black a move, the knight capture on e4 matters. But the move loses 442 centipawns because it misses the forcing check that uses the weakened kingside. The best defense was , keeping the knight active without allowing the same deflection. After the played move, White does not need to defend the e4-knight quietly. White can move it with check.
This is the tactical key.
The knight sacrifice is an only move in the sense that it is the only way to keep the decisive advantage. The engine line shows the mechanism: the g-pawn is deflected, h6 becomes loose, and White's queen enters with checks. The alternatives are much calmer and leave only a modest edge. The important point is that the move begins with check, so Black cannot first take on e4 or reorganize.
Black has to capture.
This is best defense, not the losing error. The alternative king move allows a forced mate, while the capture at least asks White to prove the attack. But once the g-pawn leaves g7, the h6-pawn no longer has adequate protection.
White's next move is not check, but it is still the precise attacking move.
The queen takes the h-pawn and keeps every forcing route alive. The engine comparison makes the point: White must use the queen, not rush a rook lift or a quiet improvement. The queen on h6 attacks, threatens checks, and keeps the f8 rook and f5 pawn in tactical tension.
Black's f-pawn move is the best resistance. It gives the king a possible route and prepares to meet White's checks with the narrowest available defense. It also leaves a target on f5, but the immediate capture is not the right move order.
White must check first.
This is another only-move conversion point. The tempting direct capture on f5 lets Black consolidate, but the queen check forces the king into a pattern where the later capture becomes decisive. The engine line captures the rhythm: check, force the king, check again, and only then take the f-pawn.
Black chooses the only serious king square.
The king move avoids a mating line. It does not solve the position, but it keeps Black alive long enough to use defensive resources such as a knight tempo on e4. In these positions, best defense often means choosing the line that is still lost but not immediately mate.
White continues with another purposeful check. The queen moves to a square where it checks and also attacks the f5 pawn, so the next capture is not just material gain; it is part of the attack.
Black again has one survivable move.
The king returns to g8. The alternative is a forced mate, so this is accurate resistance. But now the f5 pawn is loose, attacked by queen and rook, and White can finally collect it.
The rook capture removes the pawn and creates an immediate mating threat along the fifth rank. White's heavy pieces are now fully coordinated: queen on f6, rook on f5, another rook ready to join, and Black's king still boxed in.
Black finds the only serious defensive tempo.
The knight attacks the queen and covers g5, so the simple rook check no longer works. The engine line shows why this is best: Black must interfere with the queen and the mating square at the same time. But the knight becomes a tactical target if White sidesteps correctly.
White does exactly that.
The queen move is quiet in appearance but forcing in content. It escapes the knight, attacks that same knight, and keeps the king attack alive. Other queen moves let Black reorganize; the checked line keeps White's decisive edge by preserving pressure while preparing to remove the defender.
Black defends the knight with the rook, so White does not take it immediately. White lifts the rook to h5, renewing direct h-file threats. Black's final move clears f7 as a flight square and is the best defensive resource against the immediate mate threat, but it does not make the board position safe.
Why the Game Ended
The recorded final position is not checkmate, not stalemate, and not a board draw. The verified ending context says Anatoly Karpov lost on time after the final recorded move, so this was a time forfeit by Black, with Garry Kasparov winning. Contemporary live coverage reported that result in The Guardian.
The final board position itself is still decisive for White, but that is different from saying it is mate. White is not giving check in the final position, and the side to move is White. The concrete reason Black's position is strategically lost is that White's queen and rook still dominate the exposed king, while Black's last move only created a flight square. The verified continuation shows White continuing with forcing checks and rook pressure rather than claiming an immediate checkmate on the board. So the result combines two facts: Karpov's clock expired, and the final position also left Kasparov with a winning queen-and-rook attack.
Evaluation Swing Scorecard
| Moment | Side | Loss | What changed |
|---|---|---|---|
| Black | 40 cp | The queen left central pressure for a narrow h2 idea, giving White calmer development. | |
| White | 63 cp | A natural knight move delayed more active bishop or rook play and let Black contest the center. | |
| Black | 33 cp | The bishop trade plan reduced one attacker but allowed White's central d5 liquidation. | |
| Black | 442 cp | The knight tempo on e4 allowed the forcing f6 sacrifice and decisive king attack. |